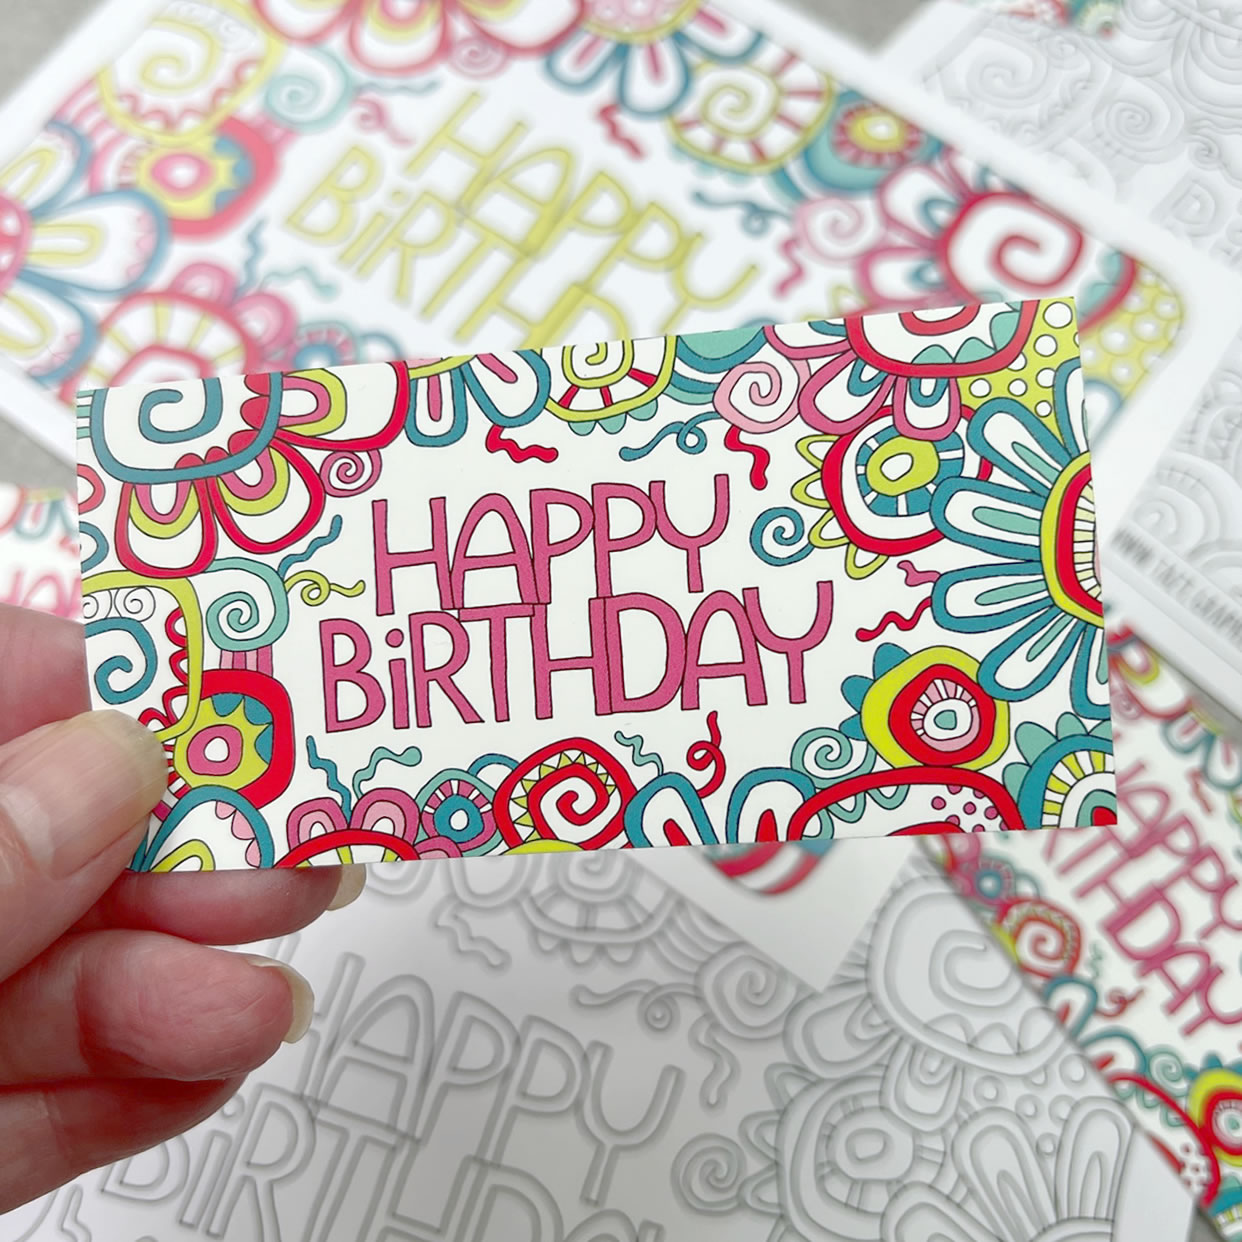
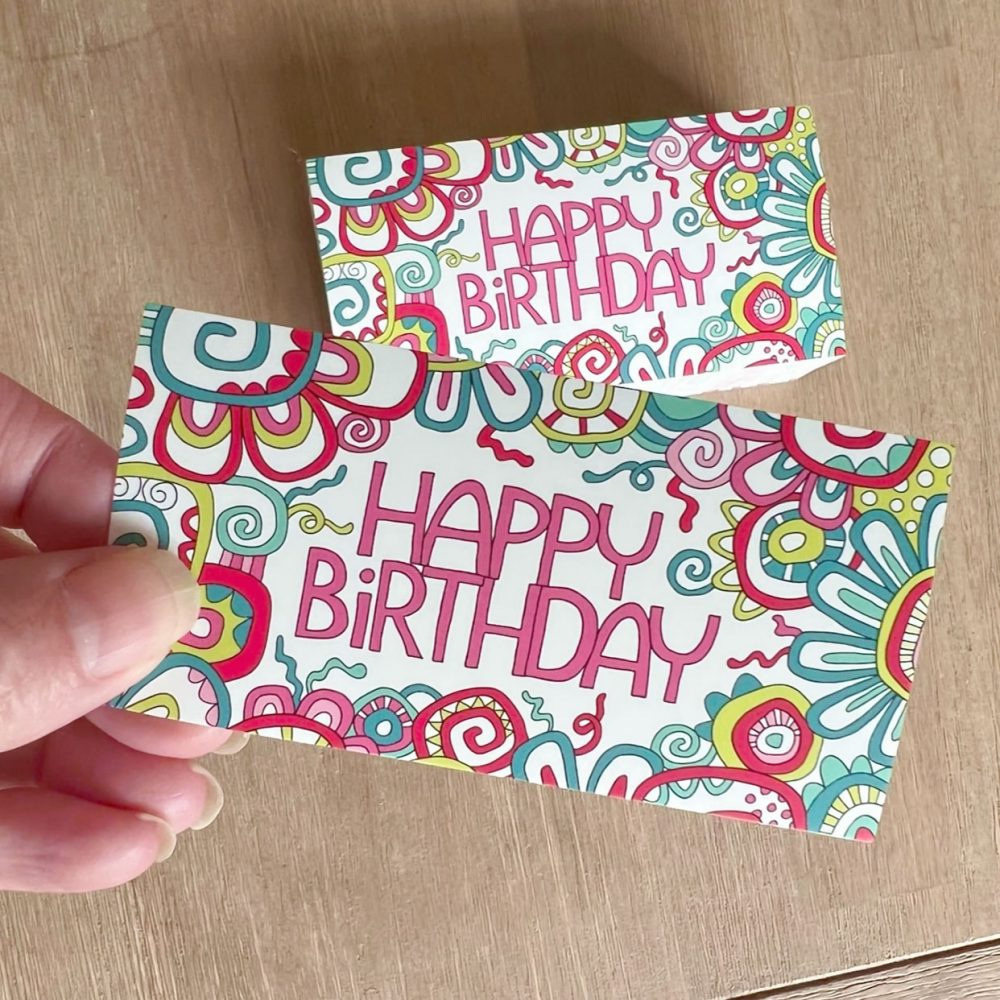
Stickers are a brilliant marketing tool and if you want to know a bit more about how to get your stickers printed I have created a simple step-by-step guide.
Stickers are a cost-effective and practical way for a small business to label products such as food, bottles or tins, candles, wrap tissue paper or seal a box.
Use them promote your business on packaging, envelopes, mailers, windows or to giveaway as promotional freebies.
Stickers are also fun and can be used to brighten and personalise laptops, water bottles, lunch-boxes, notebooks, cars and mobile devices.
Kids love to collect stickers and creative people love to use them to embellish journals, scrapbooks and handmade cards!
1. Design your graphic or logo artwork
If you are have a brand then your logo is a good place to start. You may want to include your website or tagline. To make it stand out you can reverse the colours so the background will be a brand colour and your logo will be white. If you want to create some fun stickers, you can use stock images and digital graphics.
- The file will need to be CMYK and have 300dpi resolution (website images are RGB and only 72dpi) and a 2-3mm bleed.
- Borders are tricky because trimming misalignment can occur when trimming at small sizes so it is best to not include them if possible.
- Most printers prefer AI or PDF as the recommended file format for printing (with fonts outlined), but may accept JPEG / EPS / PSD / TIFF format.
- You should check with the printer about their specific requirements as they will vary. Most printers will be happy to help you get it right!
- If you need professional help, a graphic designer will have no problems getting the artwork perfect.


Once you have your design as a digital file you will need to make a few decisions before you can finalise the artwork and place your order:
2. Choose your material
This first step in the process is to determine what you are using your stickers for so that you can select the most cost-effective material to have them printed on.
Paper Stickers
Paper stickers are cost-effective and often used to label products such as food, candles, bottles, tins, seal paper and packages, promotional freebies, wedding stickers/seals or to embellish DIY projects. They are suitable for indoor use and you can choose from uncoated, matte or gloss. Kraft paper stickers have a natural tone that gives your sticker a homemade look and feel.
Vinyl Stickers
Vinyl stickers are durable, waterproof and are good for indoor and outdoor applications like bumper stickers, window decals, cosmetic products, wine bottles or fridge products. They are easy to apply and can be removed. Bumper stickers are weatherproof with UV protection. Choose from transparent, standard, pvc, bumper, wall, window and car decals, vinyl lettering, gold and silver vinyl.
Specialty Stickers
Specialty stickers have premium finishes and look impressive. Choose from luxurious foil, three-dimensional hologram, elegant embossed or 3D dome effect. These special finishes can add a touch of class to high quality products, weddings and events.
3. Choose your shape
- Basic die cut – square, rectangle, square edges.
- Custom die cut – cut to the shape of the sticker all the way through the paper backing.
- Kiss cut – easy to peel off backing paper with bleed around the edge.
- Roll – stickers on a roll that are fast and easy to apply. Available in a wide range of material, size, and shapes.
- Sheet – multiple kiss cut stickers printed on a sheet ready for you to peel off.
4. Choose your size
- There are lots of sizes to choose from so select the one that suits your product, packaging or window.
- Look for inspiration online and in the printer’s gallery.
- I would recommend printing your design on paper at 100% and trimming it so you can visualise the size.
- Standard sizes include 30×30, 50×50, 75×75, 50×100, 75×100, 100×100 but you can have many custom combinations.
5. Choose your quantity
As with most printing, the more you that you print, the cheaper the price per sticker. This is because once the file is setup to print it is quite easy to print extra.
6. Place your order
Ordering online is so easy. Most websites will show you the print price based on your selections.
When you place your order you will need to add your shipping details and make the payment. You will generally receive an online digital proof so please check it carefully. The printed colours may vary from the online proof depending on the lighting and the computer/device colour settings that you view it on. Be prepared for a slight colour variance.
I recently discovered Oz Sticker Printing. They have a great range of affordable sticker products with lots of options. I am very happy with the vinyl stickers and would definitely use them again. The process was simple, the quality was excellent and delivery was fast so I feel inspired to order more.

